
Hardware input

Hardware input (the sidebar calls it Devices) lets you try and verify companion peripherals: until the dedicated hardware is ready, you can use a gamepad on this computer or the mouse to operate the on-page diagram, and use calibration to line the actions up with the editing app's interface. Click at the bottom of the sidebar to open it.
Video tutorial
An early demo of using a gamepad as a DaVinci Resolve grading panel: Open on Bilibili. The mapping on the desktop "Hardware input" page is still being iterated, so go by the real feel inside the app.
What you will learn
- That DaVinci Resolve is the main target, and Premiere focuses on playhead changes on the timeline
- How to try the diagram with a mouse demo or a connected gamepad
- That the test gamepad is the Google Stadia controller, and other models can be reported or sent in for testing
- How to open the Hardware input page from the sidebar and calibrate
- That the companion hardware is still in development
This is a test project
The top of the page says so: this feature is still in testing. The companion input device is still being designed; until the hardware is ready, you can try and verify it with a mouse and a gamepad. If demand is strong, the peripheral design will speed up accordingly.
Supported editing apps
Both DaVinci Resolve and Premiere are supported, with different emphasis:
| App | Focus |
|---|---|
| DaVinci Resolve (main) | Grading: primary wheels calibration, and wheel / knob / dial mapping experience (current capability is mainly on Resolve) |
| Premiere | Timeline playback changes (such as jogging the playhead or transport-style actions); full color-strip mapping is mainly for Resolve |
Before you use calibration or a gamepad to drive the host app, pick the matching editing extension in the LmBox sidebar and keep it connected.
Ways to interact right now
Two kinds of input are supported so you can try the feel and mapping before the companion hardware arrives:
| Way | Description |
|---|---|
| Mouse demo | Set the input source to This page (mouse) and drag or click directly on the on-page diagram |
| Gamepad | Set the input source to Connected gamepad and drive the diagram, and (after calibration) the host app, with a real gamepad |
The test gamepad is the Google Stadia controller (names in the on-screen list often contain Stadia). If another brand or model is not recognized or its buttons map wrongly, you are welcome to:
- Tell us the exact model, your system (Windows / macOS) and a short description of the issue through a support ticket or the in-app support entry; or
- Send the gamepad in for real-device testing (please contact us first to confirm the address and process).
Early gamepad mapping demo
For the early direction check, see the Video tutorial at the top (Bilibili · Can you build a DaVinci Resolve grading panel for about 50 yuan?). The mapping on the desktop "Hardware input" page is still being iterated, so go by the real feel inside the app.
Companion hardware is in development
Below are development sketches of the companion joystick / encoder modules (exploded assembly, structure breakdown and a prototype close-up). The companion hardware is in development and is not on sale yet; for now use the mouse demo or gamepad above to try the interaction logic.
Join the development
If you know PCB design (schematics, layout, prototyping and mass-production experience are a plus), you are welcome to help develop the companion peripherals. Submit a ticket in LmBox describing your interest and background, or reach out to KernelKun through this site or the in-app support entry.
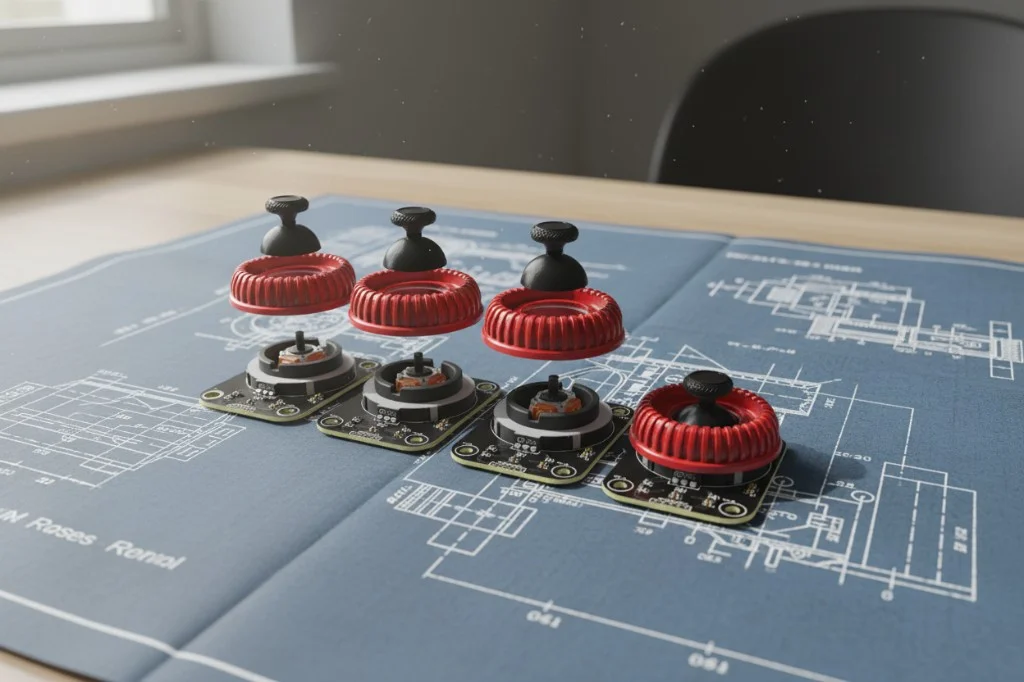
Figure: exploded assembly of the joystick module: base, red dial ring and joystick cap.
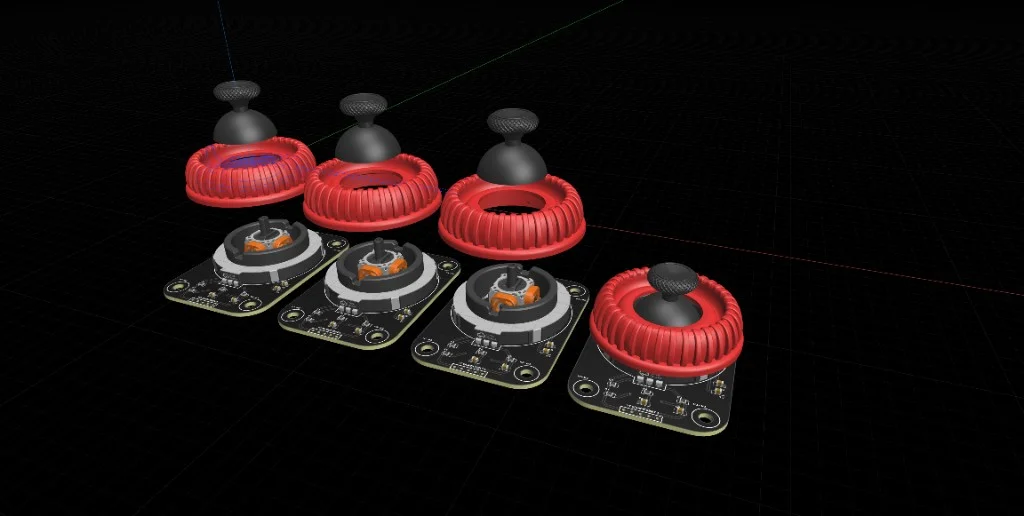
Figure: structure breakdown: joystick cap / dial ring and the circuit-board mechanism below.
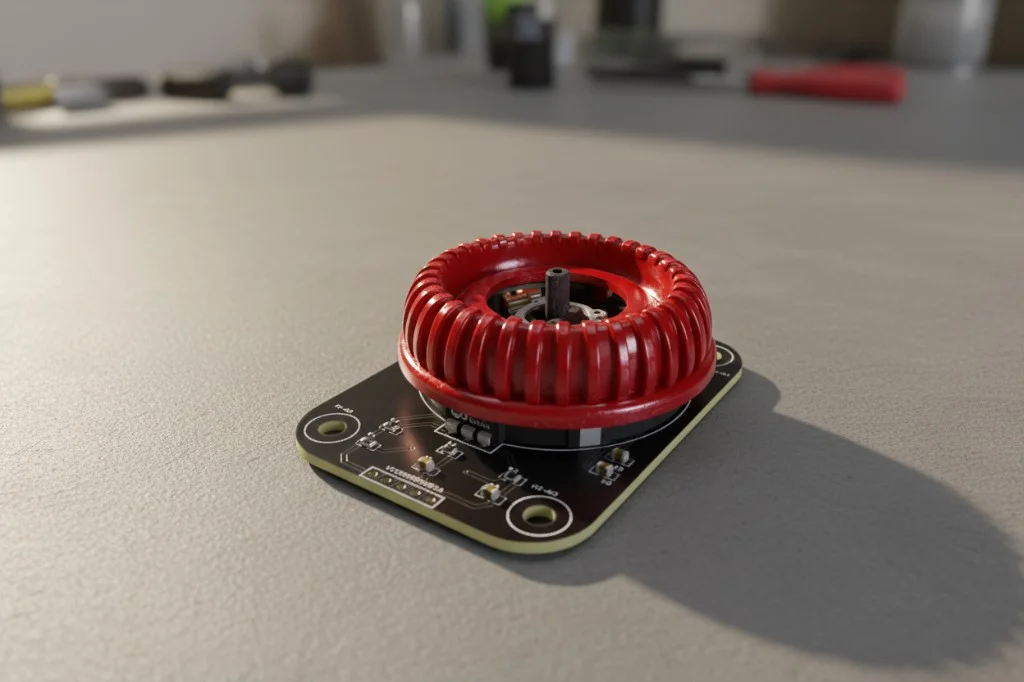
Figure: prototype close-up: the red encoder dial ring on the circuit board.
Open the page
Click at the very bottom of the sidebar to open the diagram and control page.
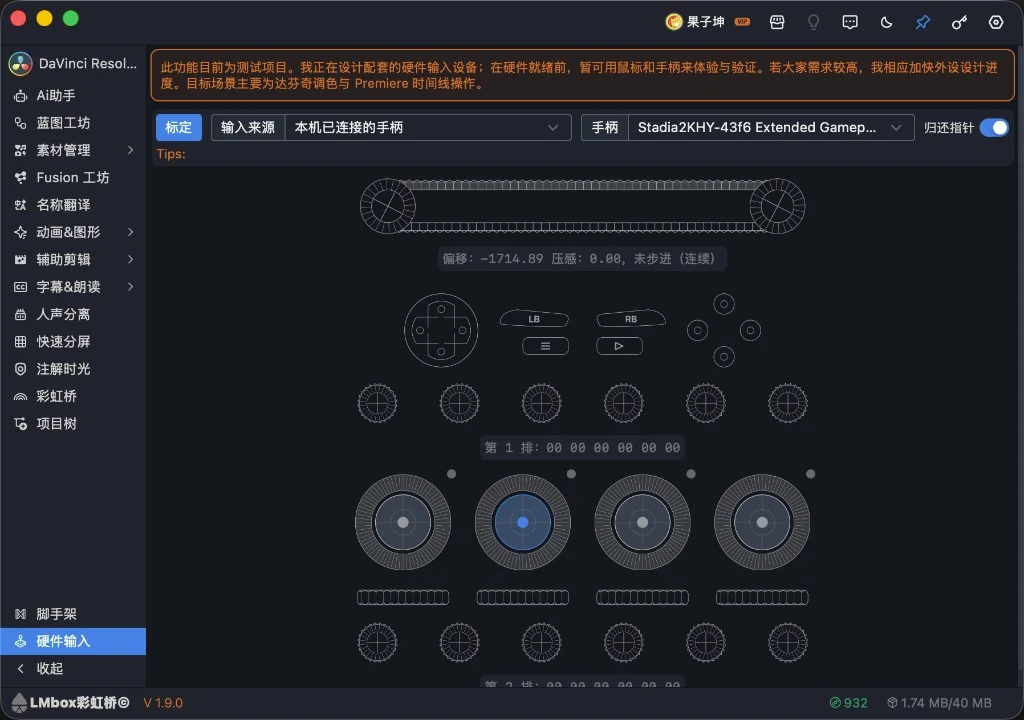
Figure: the test notice, calibration and input source, gamepad selection, return pointer, and the hardware diagram below. The screenshot shows the Chinese interface.
Top bar: calibration and input source
| Control | Description |
|---|---|
| Calibrate | Line up with the editing app's grading UI and record a pointer reference point so later actions land in the right area |
| Input source | This page (mouse) / Connected gamepad / Xuan silk (a dev-board type, with a connection indicator dot) |
| Gamepad | Appears after you choose "Connected gamepad"; if the list is empty, press any button on the gamepad and wait a moment |
| Return pointer after actions | When on, color-strip actions move the pointer back to where it started after you release; when off, it stays at the target |
How to calibrate
- Open the editing software and go to the grading page (the app window must be detectable)
- Click Calibrate; the "Color strip calibration" instructions appear
- In the editing software, open the primary wheels panel and move the pointer to the "T"-shaped corner at the top-right of the toolbar (see the red circle in the figure below)
- Once in place, press Ctrl+Shift+R (Mac: ⌘⇧R) to record the position
- A message confirms it was saved; if it says the position is off, aim again and press the shortcut

Figure: the same diagram as the in-app calibration dialog: aim the pointer at the "T"-shaped corner at the top-right of the primary wheels toolbar.
If the editing software is not open or not on the grading page, calibration may say it cannot find the window.
Diagram areas (top to bottom)
The on-page wireframe sketches the future hardware layout; drag with the mouse ("This page") or drive it with a gamepad ("Connected gamepad"):
| Area | What it does (for trying out) |
|---|---|
| Conveyor | The top strip; below it shows offset, pressure and step state |
| Gamepad area | With a local gamepad selected, shows D-pad, shoulder / menu buttons, ABXY and other button feedback |
| Top knob row | A row of encoder knobs; a readout line below (such as "Row 1: …") |
| Joystick / middle knobs | Left and right joystick columns with stacked encoders |
| Dial | The dial row below the joysticks |
| Bottom knob row | A row of encoders and readouts at the bottom |
The highlight ring shows which knob or control is currently in focus; the exact mapping may change with version and input source.
Before you start
- Install and open the LmBox desktop app
- To use a gamepad: make sure the system recognizes it; on the page choose Connected gamepad, and if needed press any button first and then pick the device
- To line up with DaVinci Resolve's grading page: open the software and go to the grading page, then click Calibrate; for Premiere timeline playback changes, keep the extension connected
- For extension connection and installation, see Plug-in manager
FAQ
Q: Which editing apps are supported?
A: Both DaVinci Resolve and Premiere. Capability is mainly for Resolve grading; Premiere currently focuses on timeline playback / playhead changes.
Q: The gamepad list is empty?
A: After choosing "Connected gamepad", press any button on the gamepad, wait a moment and then open the gamepad drop-down.
Q: My gamepad does not work / the buttons are mixed up?
A: Testing is mainly on the Google Stadia controller. Tell us the model and system through a ticket, or contact us first before sending the gamepad in for testing.
Q: Calibration says no window was detected?
A: Open the editing software and go to the grading page first, then click Calibrate.
Q: When will the official hardware be available?
A: This is currently a testing and verification page; the progress of the official companion device follows product updates and the notes on the page. If you know PCB design, you are welcome to sign up through a ticket to help develop it.
Further reading
- Settings
- LmBox desktop install
- Plug-in manager
- Desktop release notes (Chinese only for now)
- Bilibili: early gamepad mapping demo
Release notes
- Test version: the sidebar adds a "Hardware input" entry; it supports the mouse demo, a local gamepad, color-strip calibration and the on-page diagram (the official version number follows the desktop upgrade notes).